Block foam modelling is a great way to create prototypes and to help visualise products you've designed.
But before you get started you will need:
Modelling foam
Your design
A jig saw or similar
A Forstner bit for your drill
A wood rasp
Glass paper in at least two grades
And some needle files
Start by marking the outline of your design onto the modelling foam.
You can use a marker directly on to the material for this, or attach a paper design to the modelling foam with glue.
Modelling foam like this shapes well and is dense enough to give a good smooth surface, if you work at it.
The great thing about this process is that you can use any tools or techniques that work best for your design.
For this example, we're making a car model but the techniques are the same for any other model.
Now you've marked out your model, use a jig saw to cut around the outline.
The holes for the wheels in the car can be made with a Forstner bit attached to a drill.
The basic shape is then roughed out using a wood rasp, which is a rough, shaping file.
Take care not to file away too much material here. Once it's gone you can't get it back!
The shape is then smoothed using glass-paper. You'll need to use at least two grades to get it smooth enough.
For this design, we're starting with a 60 grit glass paper, followed by 120 and finally 240 grit to get the shape pretty smooth.
Details are added by using fine needle files.
You can also fold the glass paper in half and use the sharp, abrasive edge to add detail.
To get a really smooth finish use 00 glass paper or 1200 grit wet-and-dry paper.
Video summary
This short film explains the process of block foam modelling, which is used to create prototypes of products in the design phase and allows the production of well-finished presentation models for a range of RMT product design projects.
This particular type of modelling is particularly useful for students completing iterative design projects as it helps them develop the form and ergonomics of their final designs.
Teacher Notes
Points for discussion
- Assess this technique compared to other modelling techniques, for example milliput, polymorph or scratch modelling.
- How could you most quickly realise a 3D rendition of a version of the product you are trying to create?
- How could you use or adapt this technique to create iterations of an idea and evaluate them quickly?
- How might you combine prototype components made this way with those made from other materials to quickly test ideas?
Suggested activities
- A car-styling project (make half a body split down the centreline and a piece of mirrored plastic to ‘finish’ the view).
- Quickly create a range of ergonomic handles for evaluation and use in, for example, a garden tool design project.
- Use pre-cut sections (e.g. 20x20mm) to quickly model frames for furniture or a mini catapult, to help with the consideration of joints and structure.
- Use this process across a whole variety of iterative design projects (for example, lighting design) to help to generate ideas.
- At KS4, use foam to generate iterations of a huge range of potential components for use in RMT product design, engineering, graphic products and textiles projects.
Suitable for teaching design and technology (D&T) at KS3/4 in England, Wales and Northern Ireland, and 3rd and 4th level in Scotland.
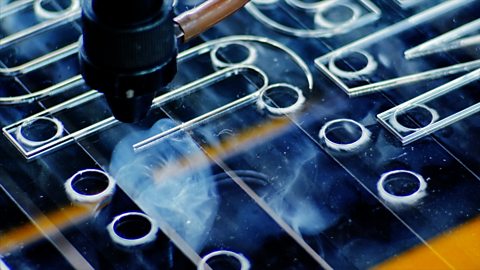
Laser cutting. video
This short film explains the process of laser cutting, which is when high-powered laser is used to cut, etch or engrave a material.
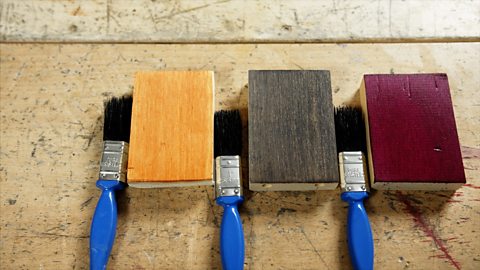
Finishing wood. video
This short film explains the process of finishing wood to achieve a professional look.
Finishing plastic. video
This short film explains the process of finishing plastic to achieve a professional look.