Key points
- Lamination strengthens wood by gluing layers at right angles enhancing stability while veneering applies thin wood layers to cheaper materials for aesthetic appeal
- Wood joining uses screws flat or Phillips heads requiring pilot holes and countersinking nails various types for different applications and adhesives PVA for strong bonds contact adhesive for dissimilar materials
- Woodworking processes include wastage cutting away material and addition joining materials with joint selection based on strength and aesthetic needs butt dowelled lap housing mitre mortise and tenon dovetail biscuit
- Metal joining involves non-permanent methods nuts bolts screws rivets and permanent methods soft soldering brazing gas welding/oxyacetylene welding arc welding chosen based on application and material
- Plastic joining includes temporary methods nuts bolts screws rivets nylon fixings and permanent methods solvent cement epoxy resin contact adhesive with tapping and threading for specific applications
How to join wood
Fabricating
Fabricating involves joining, cutting and shaping materials so that a product can be made. Timbers are used to produce a variety of products and can be joined in many ways.
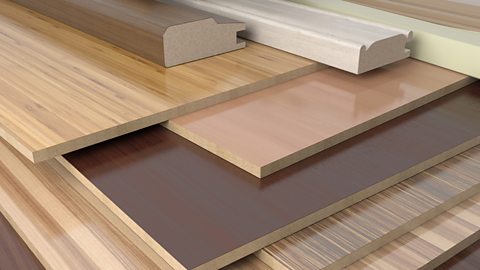
What is lamination?
A At least two layers of material bonded together. is a thin layer of material. Thin layers of wood glued at right angles to each other. is strengthened by having the timber glued at right angles to each other. Timber is easier to bend along the grain, but when another sheet of timber is glued at right angles it becomes hard to bend in any direction because the grains are at right angles to each other. As the plywood becomes thicker, the less likely it is to flex at all. This is referred to as high The ability to withstand flexing. and is a desirable feature.
What is veneer?
A veneer is a thin layer of wood. Plywood is made of layers of veneer laminated together. A veneer can be applied to cheaper materials, such as A type of engineered wood made of compressed wood and fibre particles held together with glue. or Small particles of wood and wood fibre that are glued together to make a dense board., to make them appear more expensive.
Joining using screws
Screws create a strong joint in timber and can be unscrewed if required. There are two main head designs for screws:
- flat
- Phillips
A specific type of screwdriver is required to fit each of the different head designs. Using a countersink hole ensures that the screw lies flat with the timber and stops accidents or things such as clothes becoming entangled on the screw. A A small hole drilled first as a guide to for a large hole or screw. is narrower than the screw thread and makes it easier for the screw to go in.
Joining using nails
Nails come in a range of shapes and sizes, including:
- round wire nails - do not pull through thin timber as they have a large flat head
- panel pins - for holding thin boards onto timber as they are small, often used with adhesive
- oval nails - less likely to split timber as they spread the grain less than round wire nails
A hammer is used to drive a nail through the wood grain and is quicker than fitting a screw. It is common for the nail head to be pushed below the surface of the wood so that it can be covered using a filler and improve the appearance.
Joining with adhesives
PVA (polyvinyl acetate) and contact adhesive are commonly used when working with wood:
- PVA - commonly used wood glue that is white when wet and dries clear, it takes time to set and must be clamped while the glue sets to produce a permanent and strong join
- contact adhesive - commonly used for sticking different materials onto wood, but care must be taken as it gives off solvent fumes
Wastage and addition
Wastage processes cut materials away to the required shape, eg sawing, planing, filing, drilling and sanding. Waste costs money and has an environmental impact, so must be minimised wherever possible.
Addition processes add materials together - for example, assembling, gluing, screwing and nailing.
What wood joints are useful
| Joint | Advantages | Disadvantages |
|---|---|---|
| Butt | Quick and easy to make with only glue required | Weak, can break easily, isn’t aesthetically pleasing |
| Dowelled | Can use a jig for accuracy, dowels give the joint good strength | Without the use of a jig it is hard to line up the dowels |
| Lap | Fairly easy to cut or route | Not very strong, requires glue and panel pins to increase the strength |
| Housing | Holds a shelf or divider securely within a frame, usually used with lap joints on the corners | Can be difficult to cut on a wide sheet, very accurate marking out and cutting is needed to ensure the shelf is not wonky |
| Mitre | Commonly used for picture frames, aesthetically pleasing as no end grain is seen | Similar to a butt joint so is weak and often needs reinforcement |
| Mortise and tenon | Commonly used for joining the legs onto a chair or table, strong joint | Time consuming to cut by hand as the joint is visible and the strength relies on tight-fitting parts |
| Dovetail | Commonly used for a drawer front that is constantly pulled open, a strong joint, aesthetically pleasing | Difficult to cut by hand |
Biscuit joints
Biscuit joints are easier to make than dovetail joints and provide a solid connection between two pieces of wood. They involve cutting slots into the edges of the wood, where a small, oval shaped piece of wood called a biscuit is inserted. This design offers excellent surface contact for gluing, enhancing the joint's strength. The interlocking nature of the biscuit joint helps align the pieces during assembly, making it a popular choice for wooden boxes, cabinets and furniture.
How to join metal
Assembling
There are many different joining methods for fixing metal in place. Non-permanent methods include nuts and bolts, screws and rivets. Whilst many would consider a rivet a permanent method of joining, it is possible to drill out an old rivet so that a new one can be used.
Permanent methods of joining metals are listed in the table below:
| Soft soldering | Used to solder printed circuit boards (PCBs) and electronic components. Plumbing application where copper pipes are joined together. |
| Brazing | Used for joining steel by melting a brass rod on the hot steel. As the brass melts, it forms a joint. Brazing is a slow and safe way to learn about joining metal with heat. |
| Gas welding/Oxyacetylene welding | Oxygen and acetylene are used to produce a flame with a temperature of over 3,000°C. A filler rod is melted so that pieces of metal can be joined together. Gas welding/Oxyacetylene welding is faster than brazing and can also be used to cut metal. |
| Arc welding | Heat is produced by a high current that is passed down the filler rod. When the filler rod melts, it fuses the pieces of metal together. Arc welding is fast and portable. |
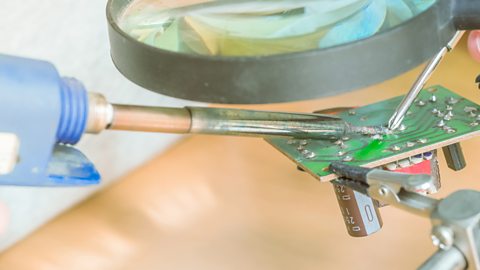
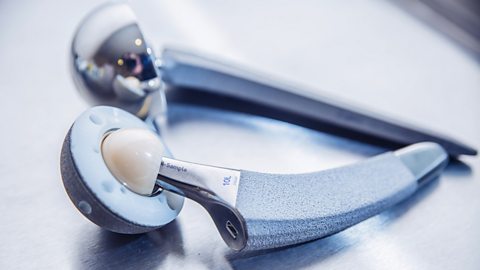
Image caption, Soft soldering electronic components

1 of 2
Fabricating and assembly of plastics
There are two types of fixings:
- temporary - can be removed if there is any damage to the product, and allow a product to be repaired or broken down for recycling with ease
- permanent - will cause damage if removed, and can be used to prevent the user gaining access for safety reasons
Temporary
Polymers can be fixed with nuts and bolts, screws and rivets. In most cases fixing a polymer is similar to fixing a metal. Some fixings are made from polymers such as nylon nuts and bolts and hinges.
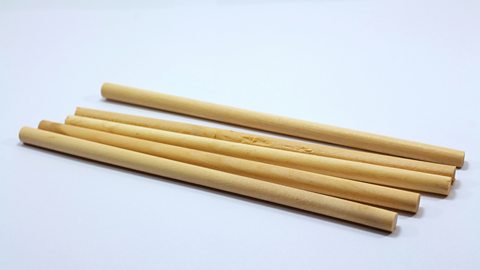
Tapping and threading plastic parts
A spiral structure that converts a rotational movement to a liner movement. on plastic parts are often made during the manufacturing process, eg when a cap for a plastic bottle is Molten material forced into a mould.. The external thread on a plastic bottle lines up with the internal thread on a bottle cap.
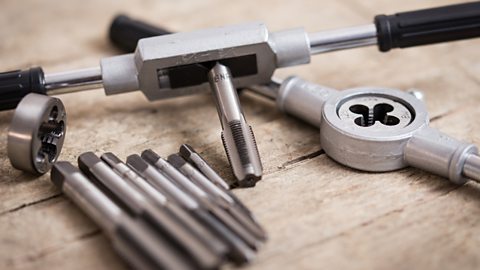
Threads can be made on plastic parts using a
Permanent joining methods for plastic
Adhesives can be used to produce permanent joints:
- Solvent cement - Designed specifically for gluing acrylic to acrylic. It is applied to one surface using a brush or syringe and the other piece is held in place while it sets to leave an invisible join.
- Epoxy resin (ER) - Used to join dissimilar materials, it is a two-part adhesive supplied as resin and hardener. Both are mixed in equal quantities before being applied to the surfaces that need joining but it takes a while to set so the parts will need clamping.
- Contact adhesive - Used to join dissimilar materials and gets its name from sticking two surfaces together on contact. The adhesive is applied to both surfaces and air dried for ten minutes before the two surfaces are aligned and stuck together.
Test yourself
More on Materials, components and fabrication
Find out more by working through a topic
- count4 of 5
- count5 of 5
- count1 of 5
- count2 of 5