Practical stitches
Stitching can be a useful way of joining fabrics together to make a product.
Stitches can have a practical function. This means that they have a useful purpose.
For example, strong stitches like the backstitch can be used to join two hems of fabric.
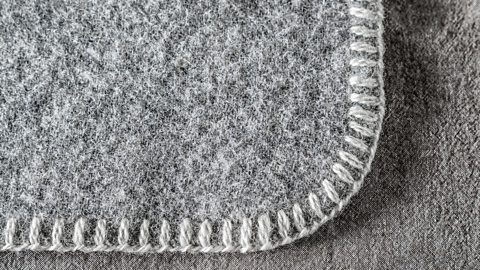
The blanket stitch can also be practical, as it strengthens the join between two edges of fabric.
Decorative stitches
Stitches can also be used to decorate products to make them look appealing.
Lots of different patterns, bright colours and designs can be used.
Two popular decorative stitches are the cross stitch and the chain stitch.
As well as being practical, the blanket stitch can also be decorative because it is used to decorate the border around the edge of the fabric.
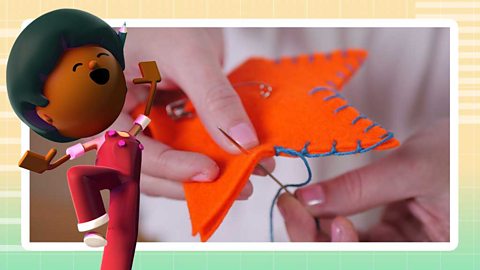
Video: Can stitches be practical and decorative?
Join Mia, Caiden and Emma to learn more about how stitches can be practical and decorative.
Mia: Hello, I'm Mia. I'm in my textile studio with Caiden and Emma. We're comparing these objects and we've found something they all have in common.
Caiden: They are all decorated with stitching.
Mia: Stitches hold pieces of fabric together, but they can also be decorative.
Decorative stitches are clearly visible on the final product.
They can help to add some special details and finish off the design.
These are cross stitches. Small crosses create the design.
Emma: There must be hundreds of cross stitches on this!
Caiden: We could use cross stitches to finish the bags we've been making.
Emma: Maybe not hundreds of cross stitches?
Mia: Even just a few would look great!
First, draw the design using fabric chalk. This will be your guide for sewing.
Starting on the wrong side, which is the side we won't see, we're going to push our needle up through the back of the fabric, being careful of our fingers.
Now make a diagonal stitch.
Now move the needle directly below your last stitch. Make sure that it’s also in line with where your first stitch came through the fabric.
Push the needle up through the back of the fabric again and make a stitch that crosses over the first.
Caiden: Making an X.
Mia: That's right! Now your turn!
These are looking great! Now let's tie a knot to stop the stitch from coming apart and cut the extra thread.
Don't forget to keep your scissor blades pointing downwards.
Caiden: Maybe we could add some decoration to the edge of the bag?
Mia: I love that idea. We could do a chain stitch along the hem. A hem is the finished edge of a product or a piece of clothing.
These are chain stitches, shall we give them a try?
Emma and Caiden: Yes!
Mia: First, draw the guiding line using fabric chalk.
Being careful of your fingers, start your stitch by pushing your needle up through the back of the fabric, which is the side you don't want to see.
Then put the needle back down through that same hole, but don't pull the thread through completely. This will create a loop.
Then you're going to push the needle through the back of the fabric again a short distance away and have your thread come up through the loop.
Pull the needle and we have the start of our chain.
You'll then push your needle back through the hole your needle has just come out of to make your next loop.
Then push your needle up through the back of the fabric a short distance away and bring it through your loop again.
Emma: It makes a chain.
Mia: That's right - why don't you have a try?
Caiden: I like this stitch. It makes a nice colourful edge on the bag.
Mia: Yes! Great job! These bags look fantastic! Now we just need to stitch up the edge and it's finished!
Emma: Looks great!
Caiden: Brilliant!
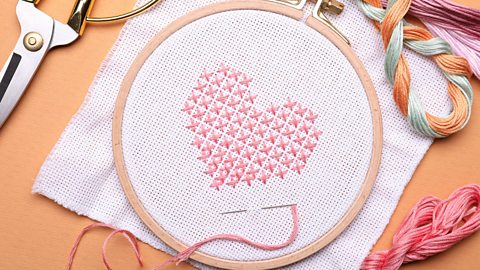
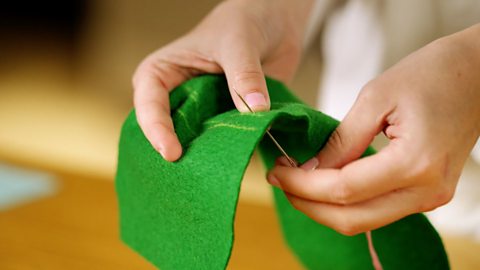
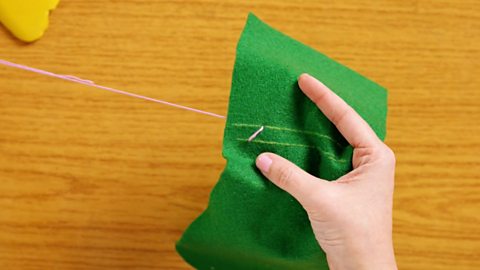
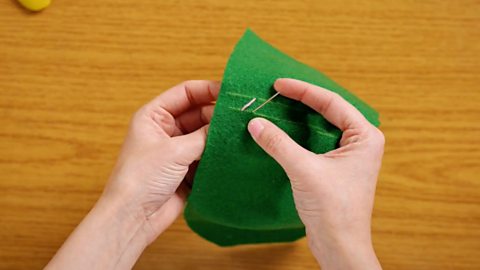
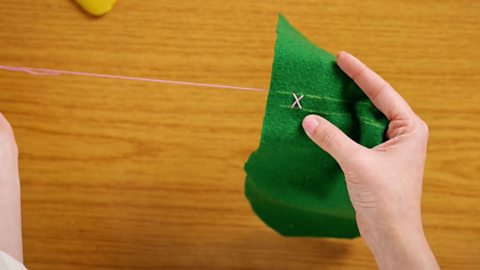
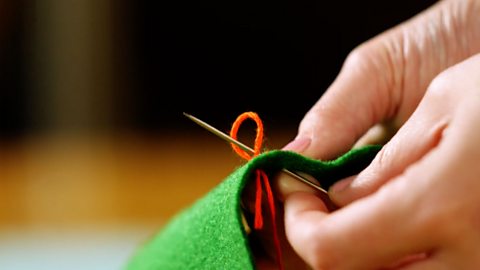
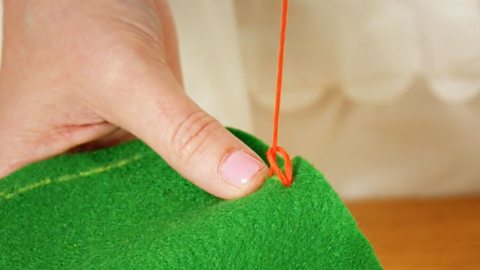
Cross stitch
The cross stitch is used to create cross shapes in order to decorate a product.
It can also be used to make a line, or seam, of stitches.
When sewing, always be careful of your fingers because needles are sharp.
Follow the steps below to create your own cross stitch.
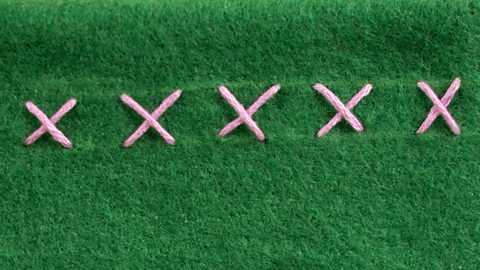
Image caption, How to make a cross stitch
Cross stitches can help to add special details to a product.
1 of 5
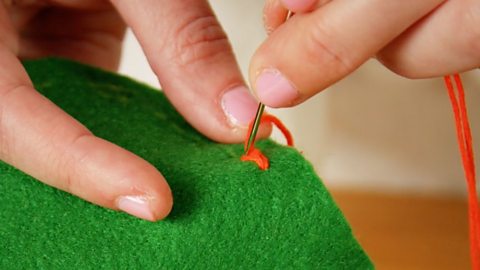
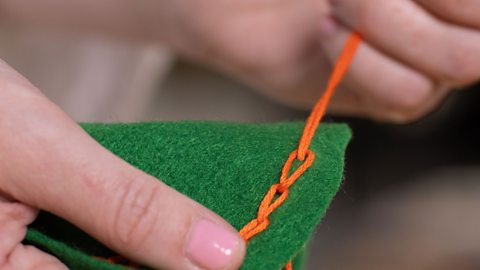
Chain stitch
The chain stitch is used to create continuous, decorative lines.
These stitches can look nice when sewn along the edge of a product or the hem of a piece of clothing.
You can follow these steps to create your own line of chain stitches.
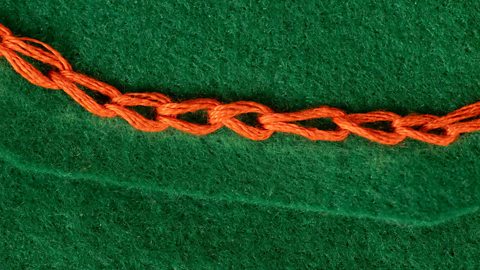
Image caption, How to make a chain stitch
A chain stitch can be used to add a colourful pattern to the edge of a hem.


1 of 7
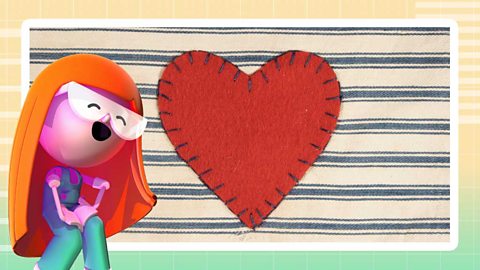
Activity: Cross stitch or chain stitch?
Can you tell the difference between a cross stitch and a chain stitch? Have a go at this activity to find out!
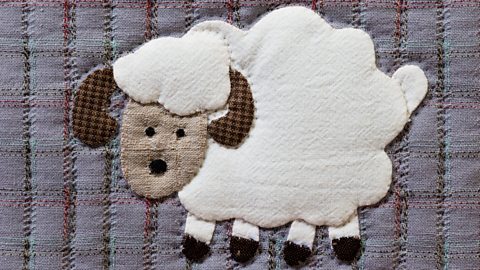
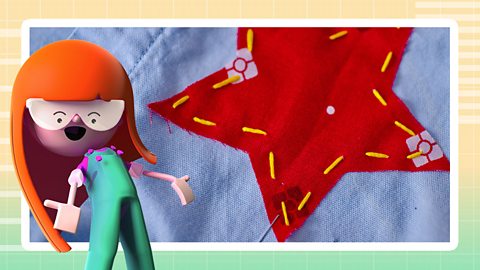
How is embroidery different to appliqué?
Embroidery and appliqué can both be used to create decorative stitching, but there are some differences between the two.
You can see the differences between embroidery and appliqué below.
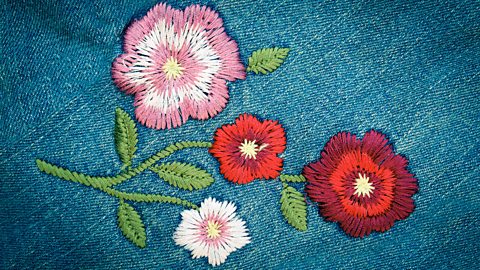
Image caption, Embroidery
Embroidery is where stitches are sewn directly onto the fabric product to create a picture or a pattern.
1 of 2
Key words
| Practical | Stitching for a purpose to join pieces of fabric together or to strengthen a fabric join. |
| Decorative | Stitching a design to make something look appealing, often in patterns of bright colours. |
| Embroidery | Decorative stitches sewn directly onto the product in different shapes, colours and patterns. |
| Appliqué | Decorative stitches sewn onto a separate piece of fabric, which is then attached onto the product using stitches or glue. |
Quiz: Practical or decorative?
Put your knowledge of practical and decorative stitches to the test.
More on Textiles
Find out more by working through a topic
- count4 of 4
- count1 of 4
- count2 of 4