Make a Henry puppet
Make your own mini Henry... in puppet form! Woof! 🐶Scroll below to follow this great step-by-step tutorial by Little Angel Theatre.
- Paper
- Pencil
- Thin card (a cereal box works well!)
- Colouring pens or pencils
- A wooden skewer
- Glue
- Tracing paper (you can substitute with greaseproof paper)
- Masking tape
- Ruler
- Scissors
- Printer (optional)
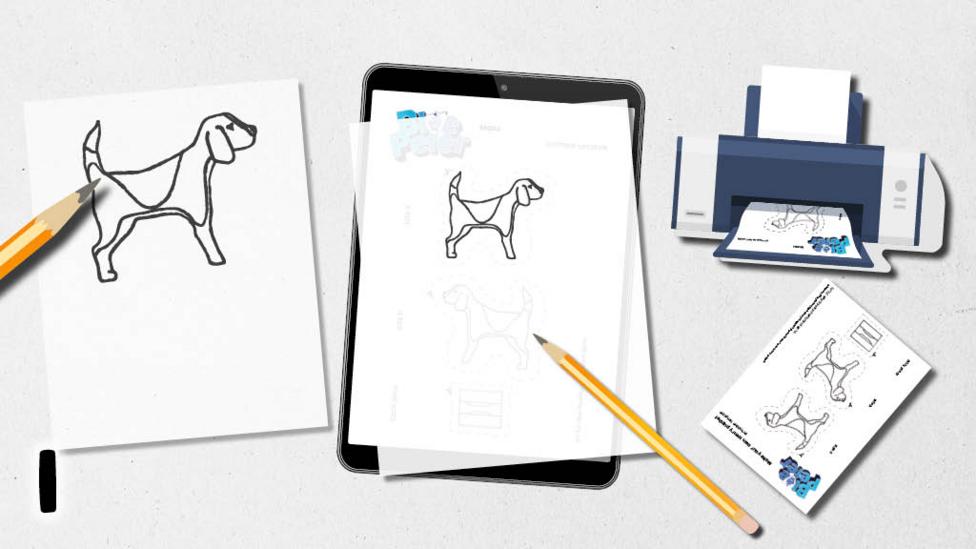
Step one
Depending on the equipment you have access to, there are a few different ways to get started with this tutorial:
If you don't have access to a printer:
Using a piece of paper and a pencil, draw a side-view of Henry. You can now move onto step two...
If you don't feel like drawing Henry from scratch, you can download the PDF template onto a tablet or mobile device. Grab a piece of plain paper and place it onto your screen (make sure your brightness is at maximum). Trace each of the outlines lightly with a pencil and be careful not to press hard - you don't want to damage your screen! You can now skip to step number five...
If you have access to a printer:
Please download and print the PDF template. You can now skip to step number five...
Step two
Grab yourself a piece of tracing paper and place it on top of your drawing of Henry. Use a pencil to trace the outlines.
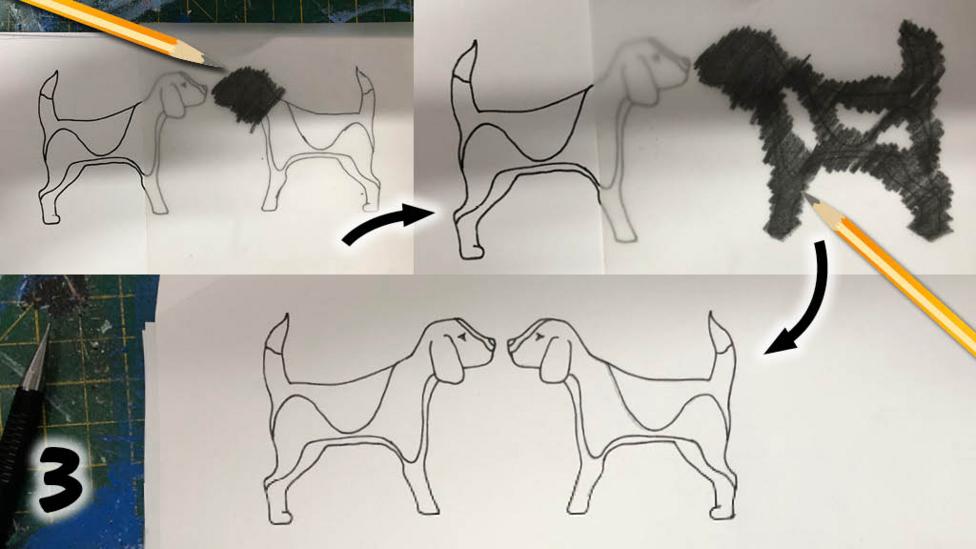
Step three
Flip your piece of tracing paper over, making sure that the side with no drawing on is facing you, and your traced image of Henry is on top of a plain piece of paper.
With a pencil, scribble hard all over the back of your drawing. This will transfer your drawing to the paper below, to give you two dogs in a mirror image to each other.
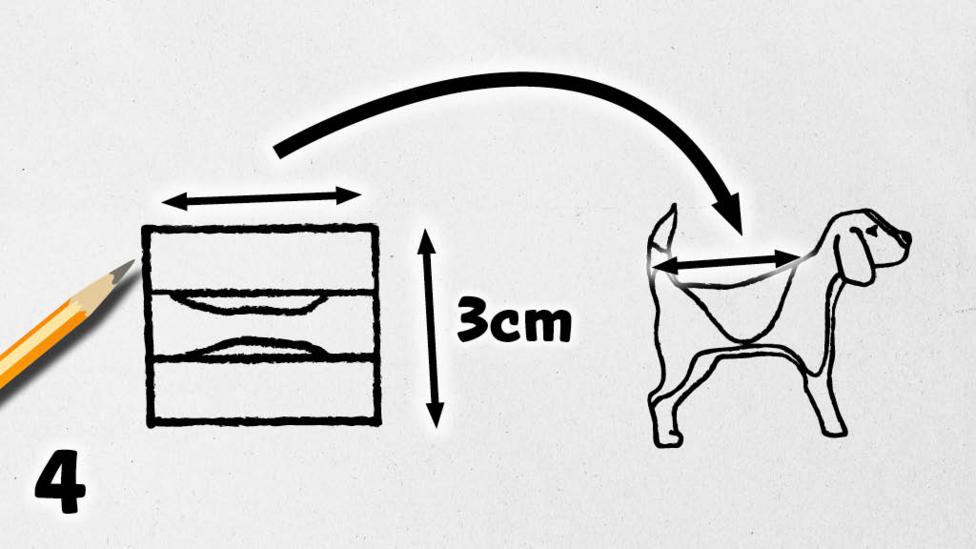
Step four
To create Henry's back piece, draw a rectangle that is 3cm wide and the same length as your drawing's back. To be precise, you can measure from your drawing's tail to the back of its front leg.
Divide your rectangle into three sections. You can do this by drawing two lines with a pencil lengthwise. The middle section will be the only piece that will be visable as Henry's back.
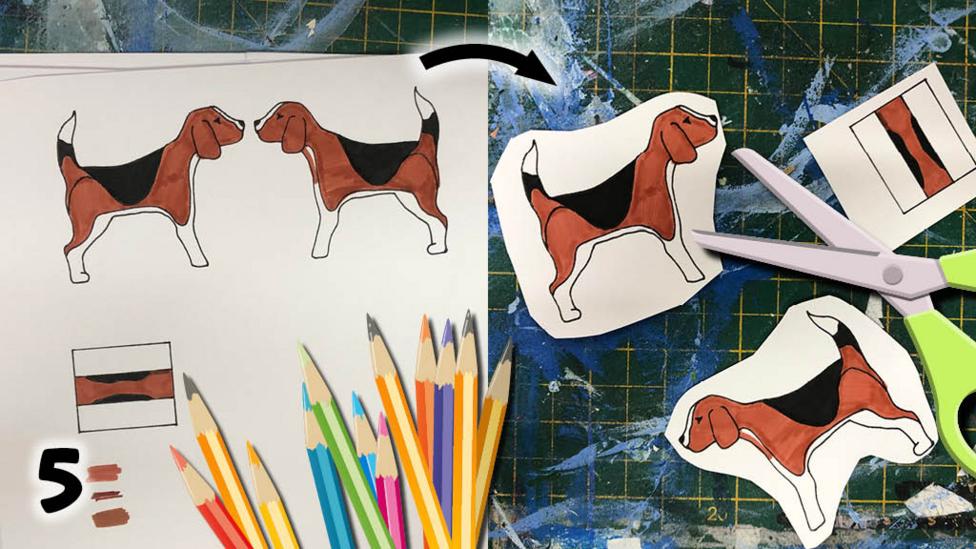
Step five
Grab your colouring pens and colour in all your pieces. This should include both side views of Henry, as well as his back. You can go traditional with colours or let loose and get creative!
Next, with the help of a grown-up, use a pair of scissors to roughly cut around your pieces. Be careful not to cut too close to the outline, as you will tidy this up in the next step.
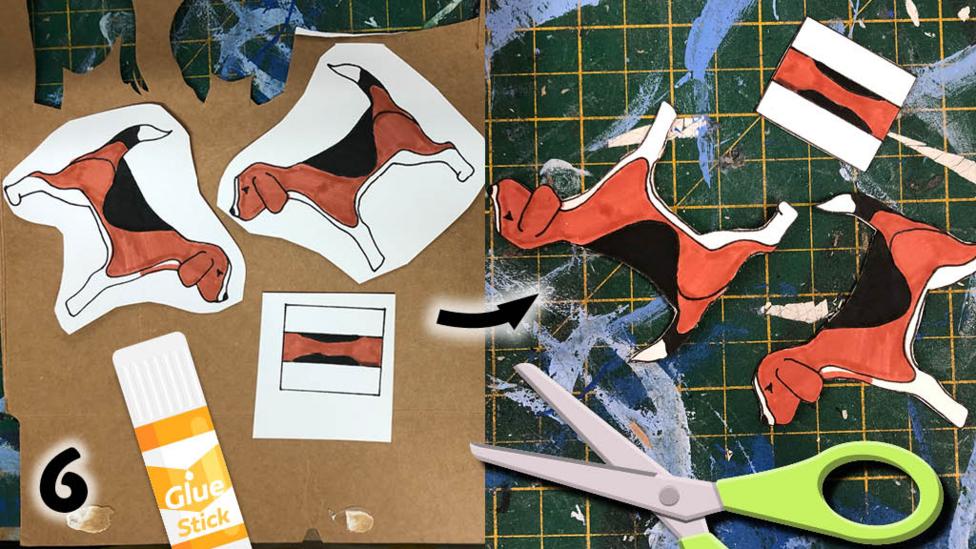
Step six
Glue your pieces on to thin card, a cereal box works really well!
Once the glue has dried, with the help of a grown-up, use a pair of scissors to neatly cut out all your pieces.
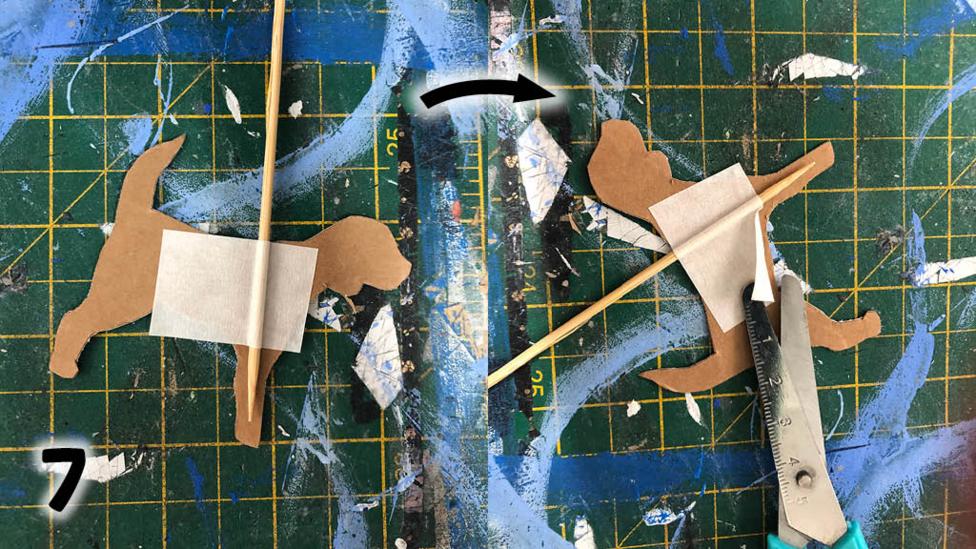
Step seven
Take your wooden skewer and place it down the inside of the front leg of your dog and tape in place. If your tape overhangs the edges of your dog, just peel back the corners of the tape and trim back the edges.
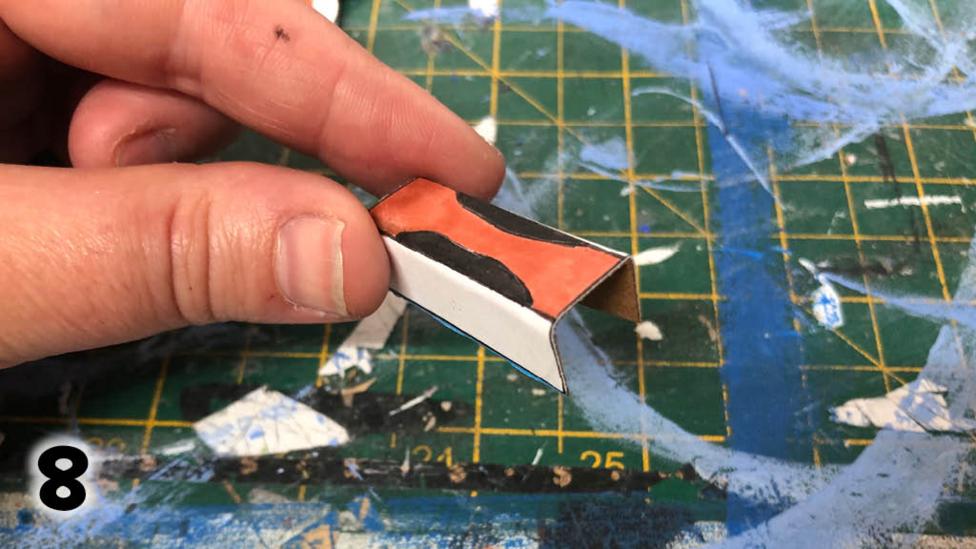
Step eight
Take your rectangular back piece and fold the outer two sections to create a C shape.
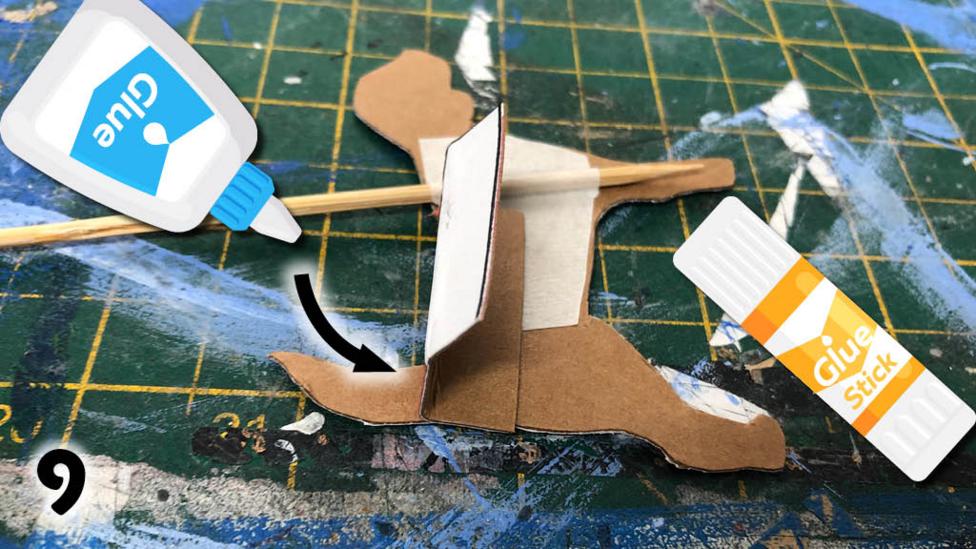
Step nine
Put lots of glue on one side of the folded rectangle (the back piece) and glue it to the inside of your dog, just behind the wooden stick. If it overhangs the length of your dog, trim it back so it is level with the tail.
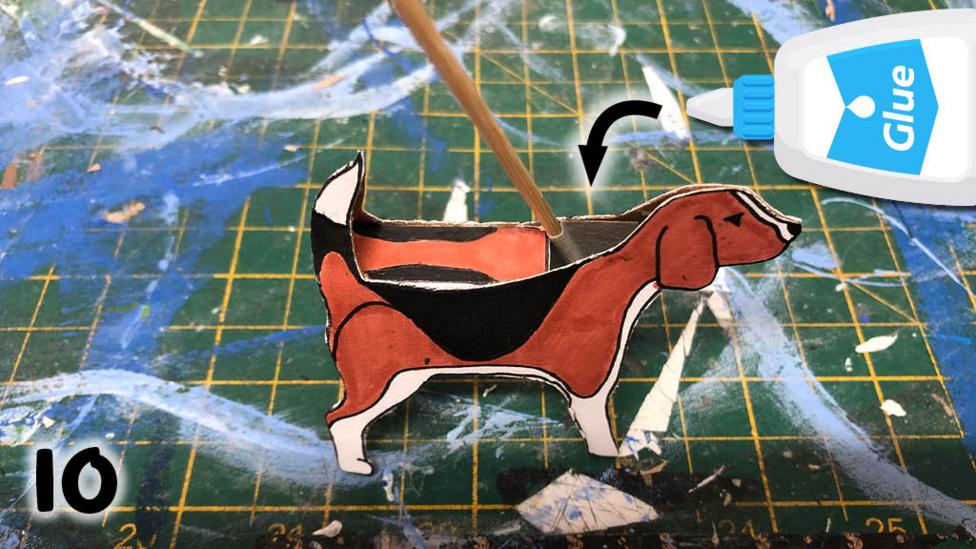
Step ten
Repeat step nine with your second dog piece.