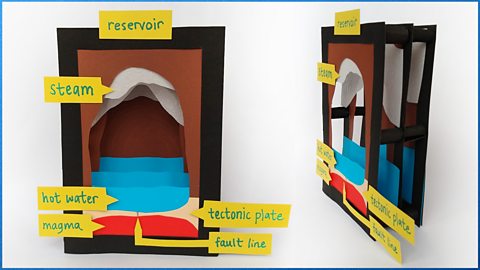
Learn how to make a tunnel book from card
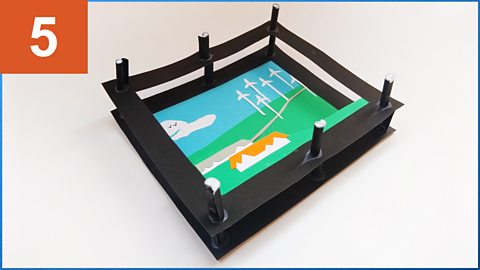
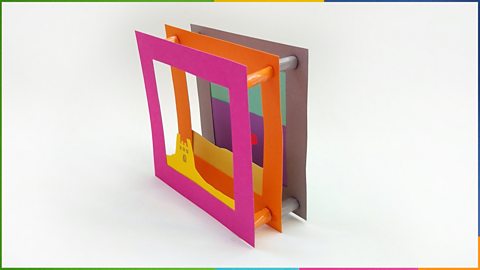
Cardboard frames can be layered to create impressive 3D scenes.

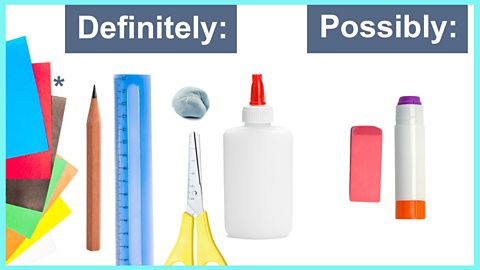
- Card *
- Pencil
- Putty
- Scissors
- PVA glue
- (Choose the thickest card that you can cut easily. This will help build a strong frame)
You might also need a rubber for any mistakes and a glue stick when you stick your decorations to the frames (PVA glue will work but might warp paper or thin card).

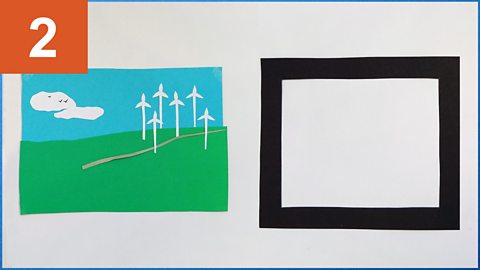
First: Plan your picture
What do you want your picture to look like? It can help to create a quick sketch to plan it out:
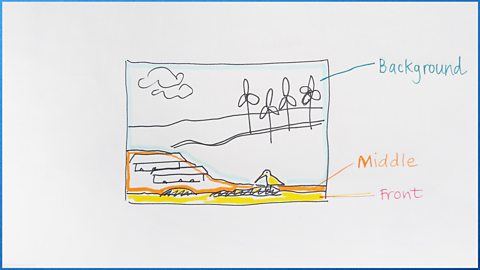
Looking at your sketch will help you to separate the different bits of your drawing up into frames.
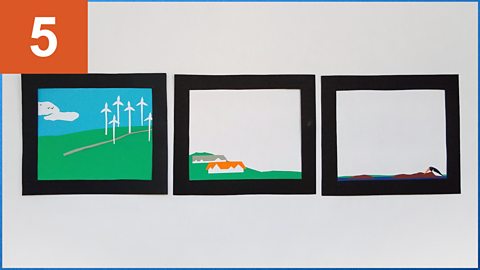
You will need a background that shows the furthest away parts of the picture. This needs to fill the frame.
The front frame is the foreground and shows objects that are closest to you.
Add one or more frame in the middle depending on how deep and layered you want the picture to be.
Make sure objects in the foreground and middle are next to the frame, otherwise they won't have anything to stick to.
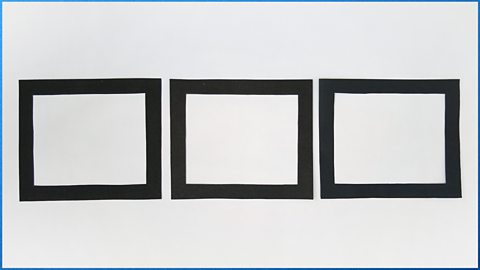
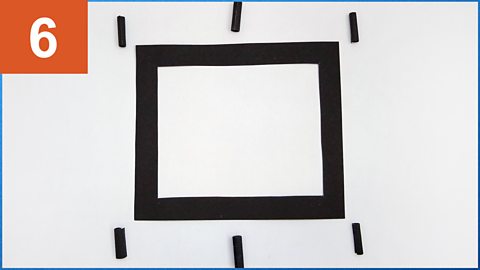
Then: Make frames
Choose your card and make the number of frames you need for your design. The frames should be identical in size.
For more help with making angular frames check out our cutting holes articles:
Cutting folded paper is the simpler way.
Cutting to the corners is the neater way.
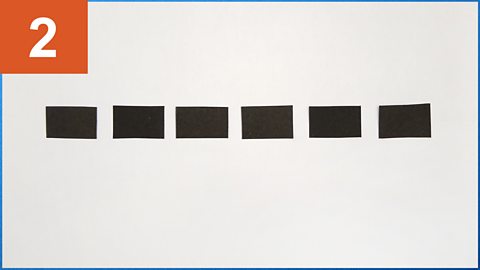
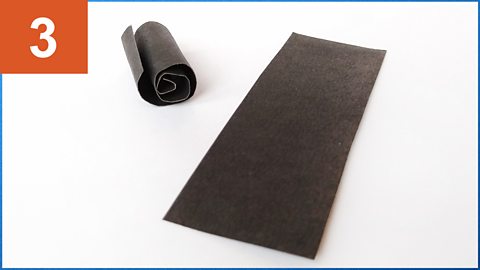
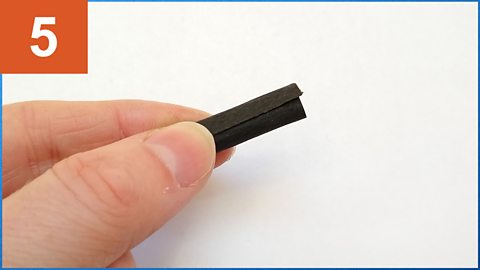
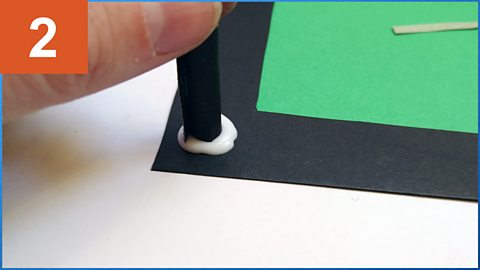
Next: Make spacers
Spacers join the frames together while creating space between them. This increases the 3D effect.
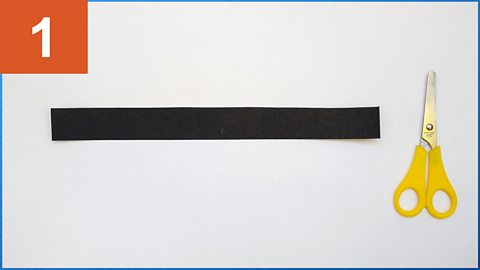
Image caption, Mark and cut a length of card
It is important that the strip has the same height throughout. You can use a ruler to mark it out.
1 of 6
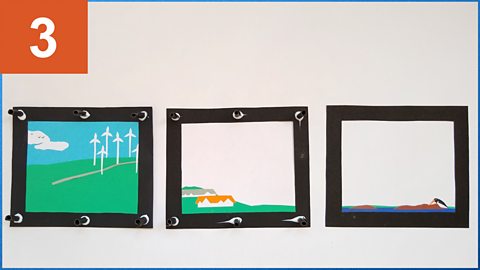
After that: Decorate your frames
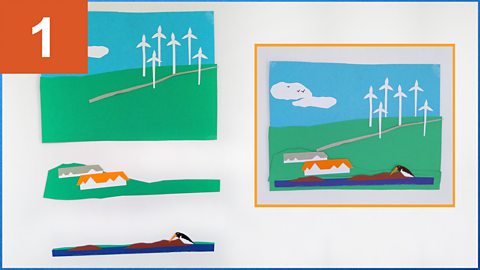
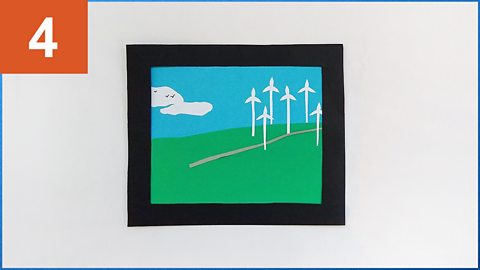
Image caption, Make the picture sections for each of your frames
You can layer them and move things around to make sure you like the way the picture will look when framed.
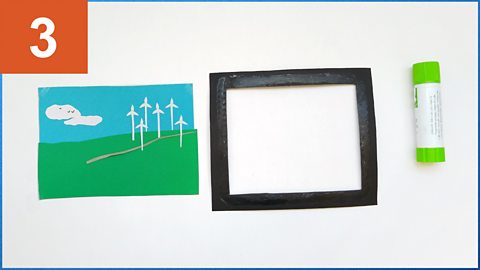
1 of 5
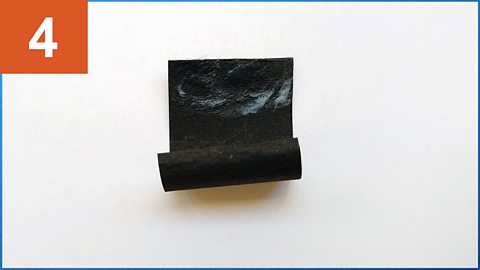
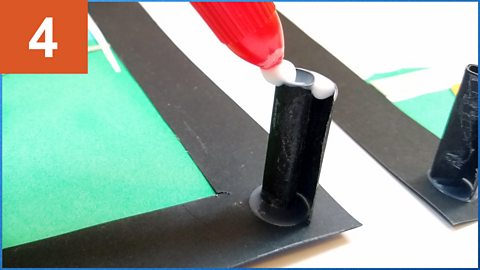
Finally: Join the frames
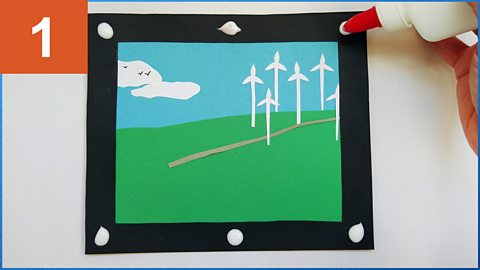
Image caption, Put PVA glue on each corner and the long sides of your back frame
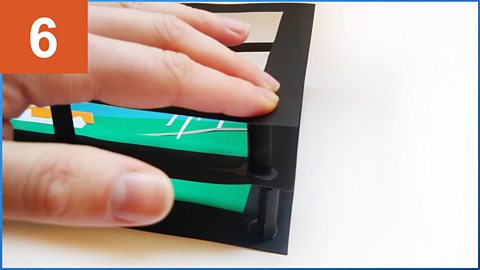
1 of 7
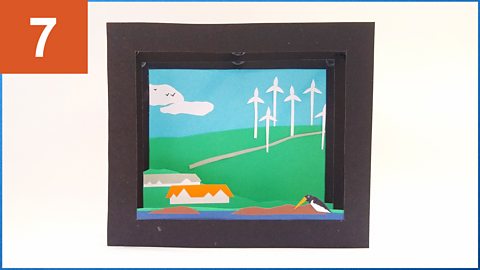
Artwork examples
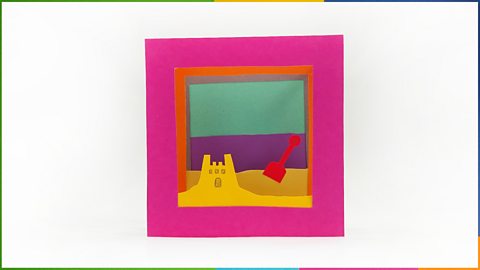
Image caption, You can also use frames of different colours in a tunnel book.
1 of 2
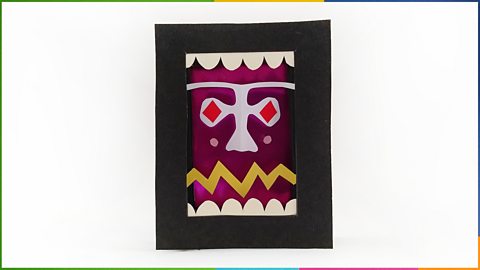
Image caption, If you don't know what to make, experiment with different shapes and see what you can turn them into.
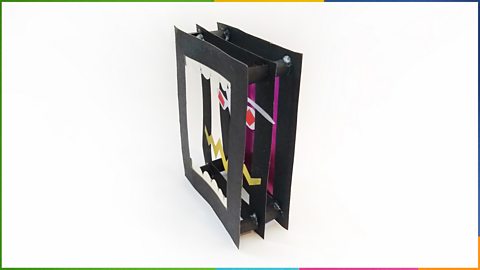
1 of 2
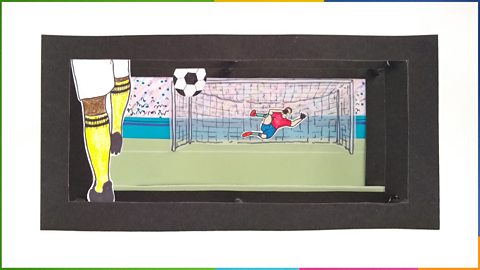
Image caption, In this tunnel book the footballer's legs are on the front frame, the football on the middle frame and the goalie and crowd on the back frame. The goalie is much smaller than the legs and ball because he is in the background.
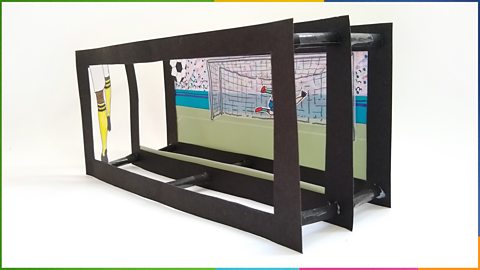
1 of 2
More on Design activity
Find out more by working through a topic
- count1 of 11
- count2 of 11

- count3 of 11
- count4 of 11