A halving joint is used to fix together two pieces of timber so that, when assembled, their faces are flush. It's called a halving joint because the pieces are halved in thickness.
Before we get started you will need:
Two pieces of timber
A steel rule
A try square and pencil
A marking gauge
A tenon saw
A bench vice and bench hook
A chisel and mallet
Some goggles and PVA glue
To get started, make sure you select two good bits of wood, avoiding knots and irregularities in the parts of the timber where you're going to cut.
Set the marking gauge for half the thickness of the timber and mark the depth of your cut on the wood.
Now, do the same on the second piece of timber.
Mark the limits or width of the cut using a steel rule and try square.
Mark across the timber surface and down the sides to clearly show the wood you'll be removing.
Use a bench hook and vice for safety and stability, then clamp the wood to the bench hook to hold the work pieces in place.
Now cut down to your depth mark with a tenon saw.
Then use a chisel and mallet to remove the waste from both pieces of timber.
Hold your chisel by the blade for accuracy and control.
To finish, tidy, flatten and adjust the width of the joints with your chisel.
Remember to keep checking the fit as you go.
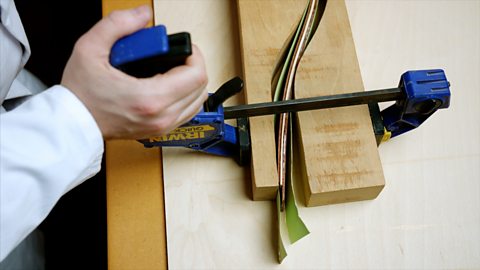
Once you're happy with the fit, spread on some PVA glue inside the joint and push both pieces firmly together.
Video summary
This short film explains the process of creating a halving joint, which is used to fix together two pieces of wood.
The marking-out and cutting techniques demonstrated are skills that can be adapted to more complex joints, and can be applied across a whole variety of applications, from furniture and frames to boxes and parts for other mechanisms.
Teacher Notes
Points for discussion
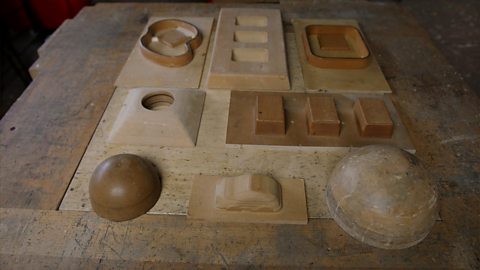
- Using examples or pictures of other wood joints, for example tee halving, bridle, mortise and tenon, or dovetail, discuss how similar skills could be used to create these joints.
Encourage students to identify the following key skills:
- Cutting at 90 degrees to an edge.
- Cutting inside the waste line.
- Discuss the function of each tool used and why it is important to use them in the correct order; for example tenon saw before chisel. Why?
- Discuss the importance of accurate marking-out.
- What tools or machinery would make this job less labour-intensive? For example, a bandsaw.
- Could you stick pieces of wood together to achieve the same structural effect?
Suggested activities
These skills could relate to a large number of projects, for example:
- A mini medieval catapult where the basic joints can be used in the frame which can then be reinforced with diagonal elements or plates.
- A box-making project where you adapt the techniques to make lap joints.
- Small or full-scale furniture projects.
- A frame for a small piece of machinery like a mechanical, cam-based toy.
Suitable for teaching design and technology (D&T) at KS3/KS4 in England, Wales and Northern Ireland, and 3rd and 4th level in Scotland.
Finishing metal. video
This short film explains the process of finishing metal to achieve a professional look.
Laminating wood. video
This short film explains the process of laminating thin, flexible layers of wood to form a stiff, usable shape.
Vacuum forming. video
This short film explains the process of vacuum forming, which is an easy way to make hollow plastic mouldings which can be used in a wide variety of RMT design projects.